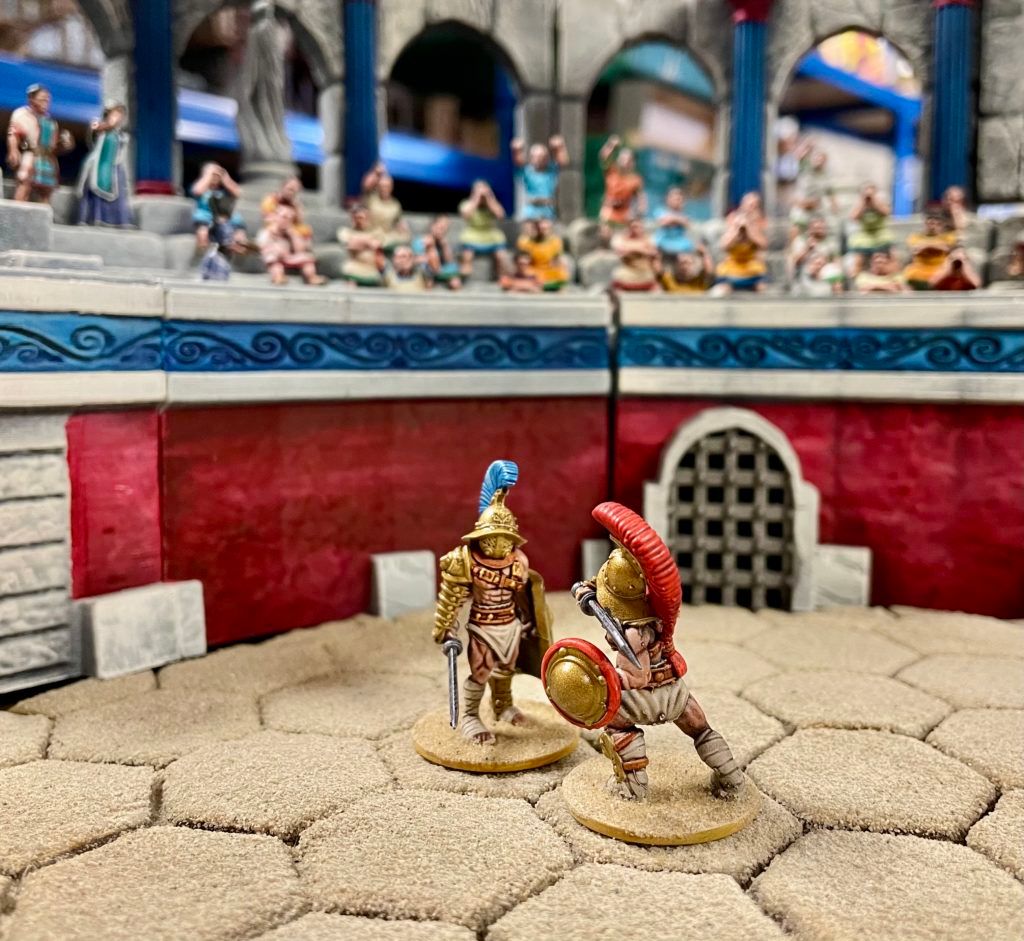
Last week I came across an excellent set of Gladiator skirmish rules called ‘Blood on the Sand’. The introductory set of rules are free to download on the authors Facebook page. The rules contain counters, a map board, tokens and play sheets. The rules remind me of ‘What a Cowboy’ and ‘What a Tanker’, which are both great games. I decided that I wanted a proper arena to fight in, especially as I already had some sections of stadium seating already populated with spectators from the Sally 4th A Street off the Aventine range.
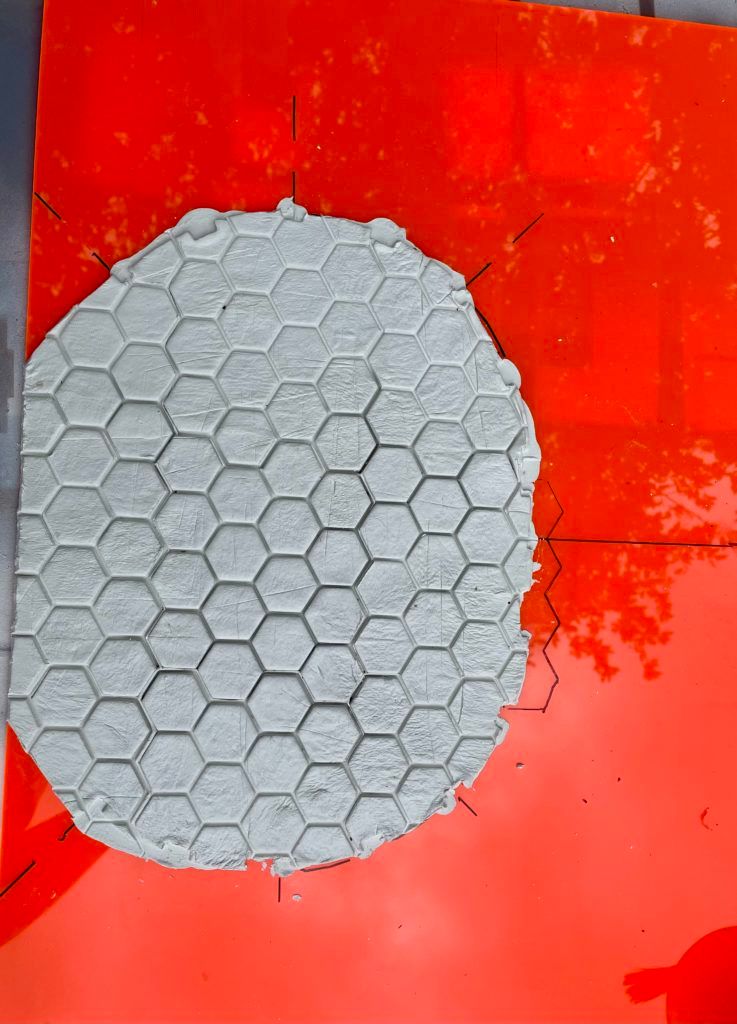
The game is played on a gaming surface about the size of a sheet of A3 paper covered in 30mm A/F hexagons. After a little consideration I decided to use a sheet of Perspex for the base as I knew it would not warp and Das Air Dry Clay as the material to stamp some hexagons into. I marked out where the Stadium sections would go with a sharpie and then rolled out most of a 1Kg packet of Das onto the Perspex using a rolling pin.
I had found that a 3D designer on My Mini Factory, Custom Miniature Maker, had a set of tools for rolling out clay and stamping it out into bases. The Basic Print & Roll tool set had a tool for pressing a patch of 25mm A/F Hexagons into clay. I upscaled this so the Hexes were 30mm, printed the tool on my 3D printer and then used the tool to press the hex design into the Das Clay.
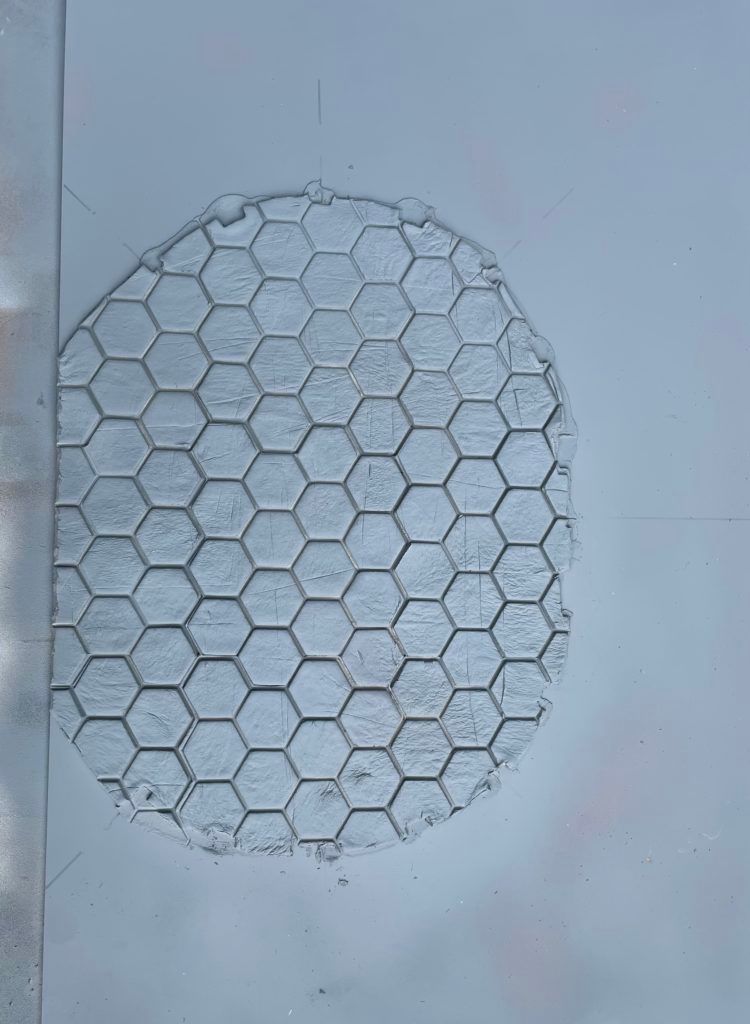
I left the Das Clay for 24 hours to dry and then spray painted the whole board with Halfords Grey Auto Primer.
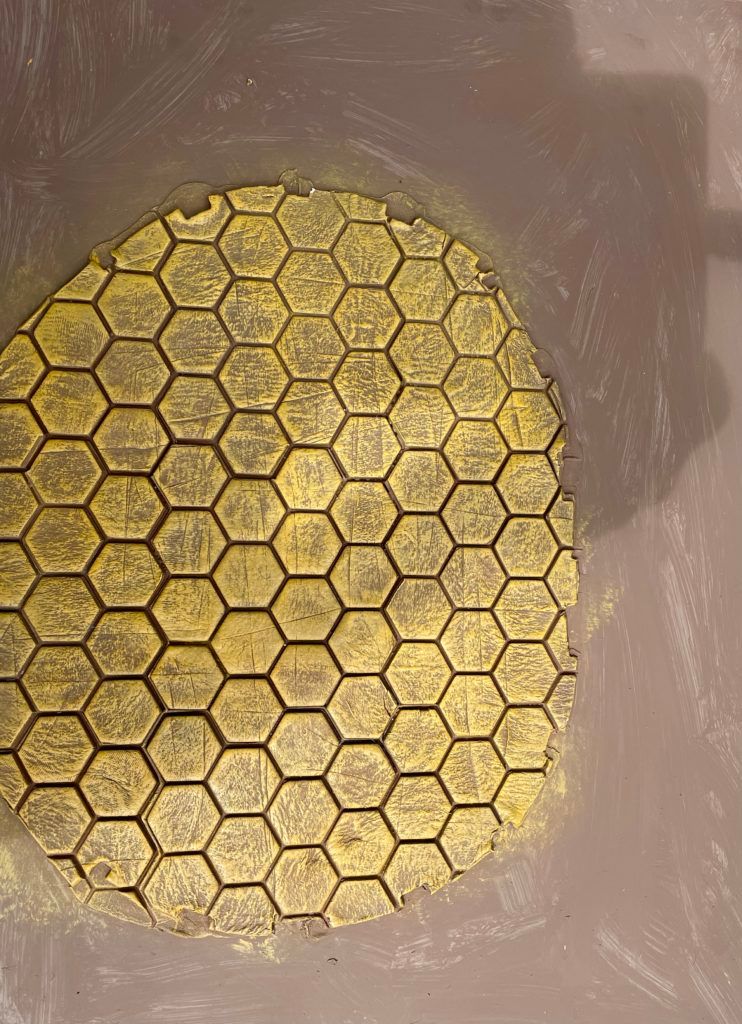
After half an hour, the primer had dried and I painted the whole board with brush on emulsion, Sandtex Bitter Chocolate. This is my go to paint for giving an undercoat layer to all terrain and basing projects. When that had dried, I used a large make up brush to dry-brush acrylic folk art paint in a sandy shade over the raided hexs.
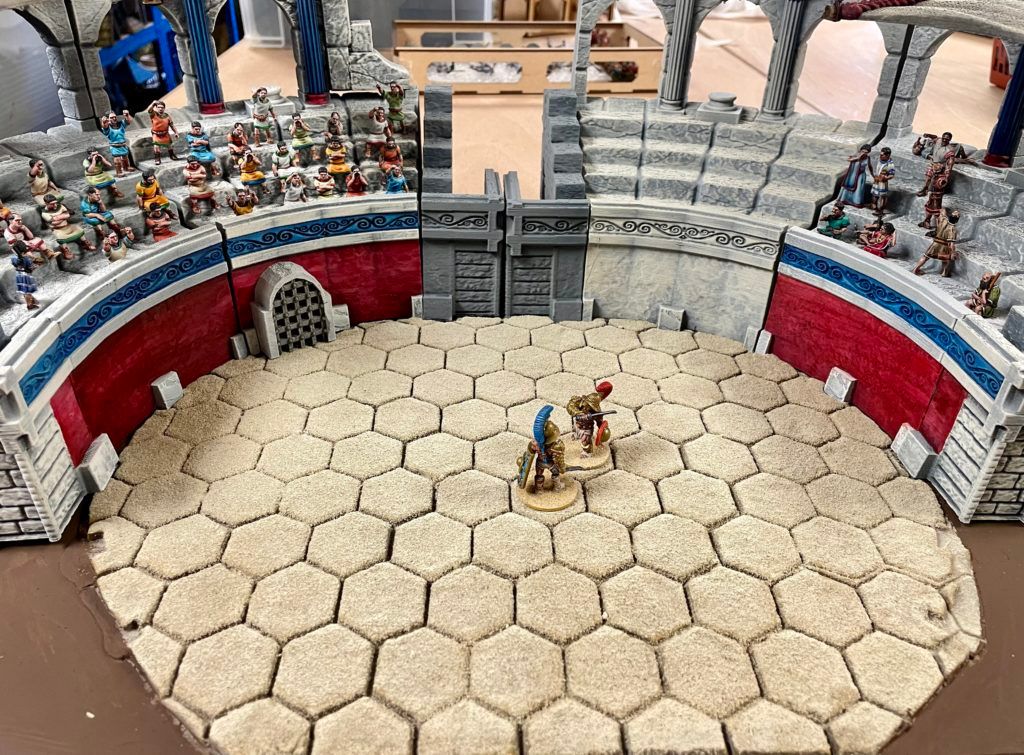
All that was left then was to glue some sand down. Once again I used a large make up brush to damp brush PVA glue over the top of all the hexes. I use a mixture of fine sand and sand coloured tile grout for sandy basing. The tile grout in the mix works very well for solidifying the mixture. The sand was sprinkled on, left for 5 minutes to dry and the excess shook off. I then used a mister bottle to spray a light watery mist onto the sand and grout to activate the grout to make it set.
I will add more to this blog as I start playing the game:
The game can be downloaded from the authors Facebook page, click here to take a look.

0 Comments