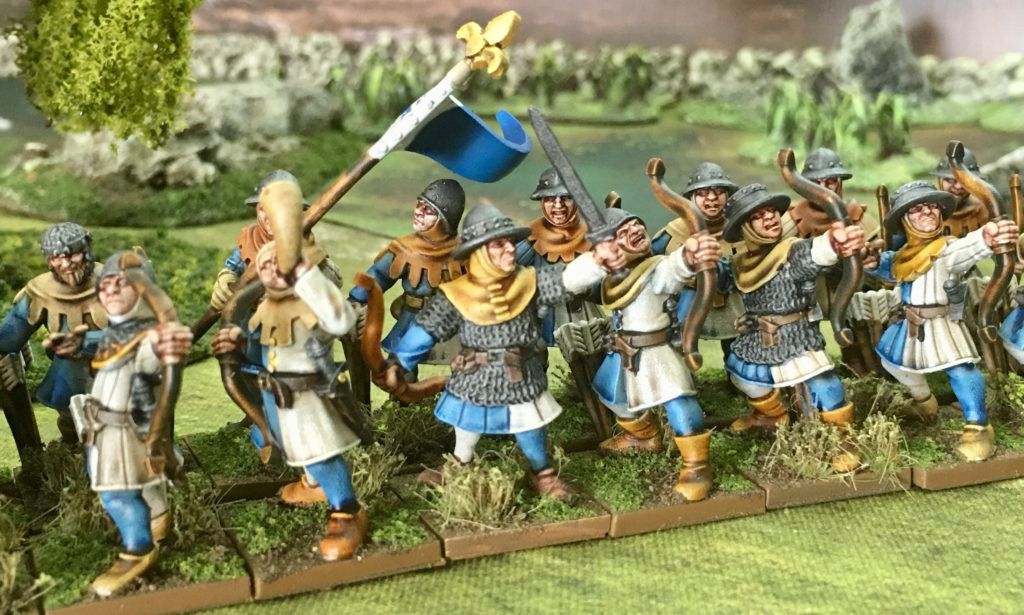
Twenty or so years ago, when I ran a games store I had at least a small, playable army for each army list in Games Workshops Warhammer Fantasy Battle and WH40K game, how ever my ‘personal’ army, and very much my favourite was always the Bretonnians. I guess I was a modeller and a painter first and a gamer second as there army list never had the cheesy ‘killer combinations’ that some sported and was always in need of revising, but I was attracted by there background in historical medieval armies and the legends of the Round Table. They were also a colourful army to field and paint with knights sporting individual heraldry and colours that could be repeated on there retinues.

The years passed and I sold off my Warhammer armies and always regretted it, especially The Bretonnians, so I was very excited when I saw this range of miniatures, which to me are are a great match to the Old School aesthetics of my original Bretonnian Army. They are sculpted by a very talented Spanish Lady, Celia from Celia Miniatures. If there is enough interest in the miniatures, Sally 4th will release them as 28mm metal castings. I love the variety. There are around eight slightly different bodies, and same number of separate heads, so lots of variety while still looking good as a unit.

I’ve put together a painting article. I call these guides Paint 4 Table because this is a guide for getting miniatures on the table for gaming rather than for putting in a display case or entering in a painting competition. These techniques will not win you the next ‘Golden Demon’ award, but they are techniques that I’ve developed that give good results without having to spend more than 15-20 minutes per miniature. I start off by gluing the figure on to a base, in this case a 20mm square Warhammer Infantry style base. The model is then spray primed using Halfords White Auto Primer. Other primers are available. I paint a lot of miniatures, I find the adhesion and coverage of Halfords paints to be very good and they work out a lot cheaper than ‘Hobby’ primers. When the primer has dries, the model is painted all over with a Brown / Sepia wash. I make this up using Citadel Agrax Earthshade, Army Painter Wash Medium and Army Painter Flesh Tone in equal proportions. I find that this initial wash helps me to see the details and ‘understand’ the figure and it also neatens up the join between colours and increases the contrast between shadows, mid tone and highlights as the Speed Paint dries.
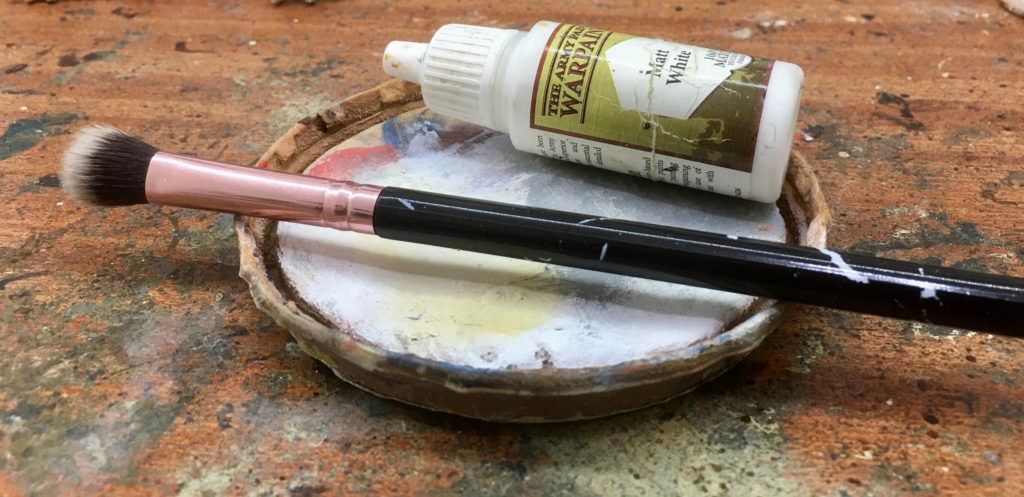
For drybrushing, I uses Make Up brushes that I buy from Amazon. The last set cost £6.50 for 10! These work at least as well as specialist hobby brushes, and cost a fraction of the price. A little paint is squeezed on to an old lid that I use as a pallet, the tip of the brush is wiped across the paint and then the majority of the paint is wiped off before lightly brushing across the model.
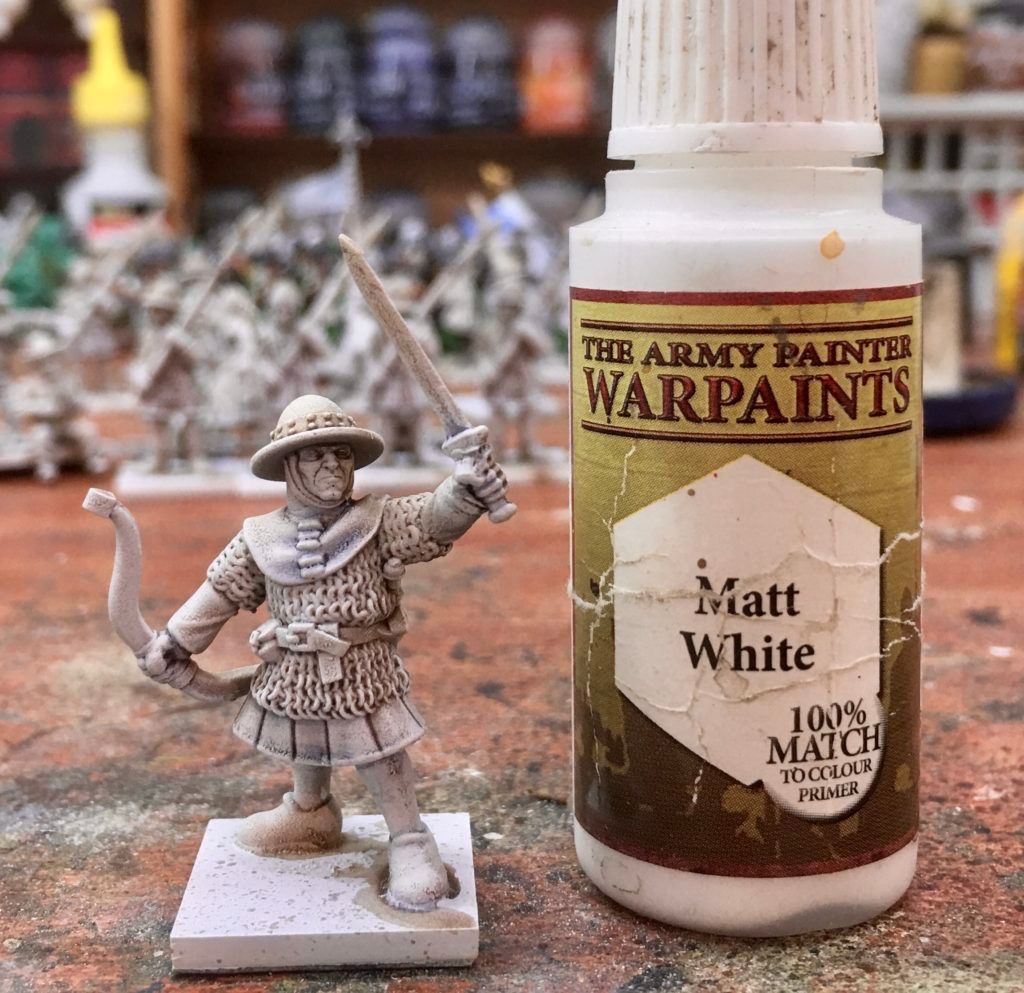
The whole model is given a good drybrush with Army Painter Matt White. Any areas that are going to be white on the finished model are now completed, with some nice shading, any other area has a good base for the Speed Paint to key to. I have tried lots of different approaches with Speed / Contrast paints, since they were first released and have found Sepia Wash followed by White Drybrush to be the most effective and defiantly worth the extra time.

I like to start by painting flesh. My favourite skin tone is ‘Crusader Skin’. Face and hands are painted with a generous layer to give good highlighting.

I use a small hard pallet for Speedpaint. It is important to shake the bottles well. They all come pre-loaded with a couple of steel ball bearings to ensure a good mix. I just put a drop on the pallet at a time. It goes a long way. For Speed Paints, I use a very basic Army Painter Hobby Brush. It is around a Size 2, which gives enough control while still taking a good load.
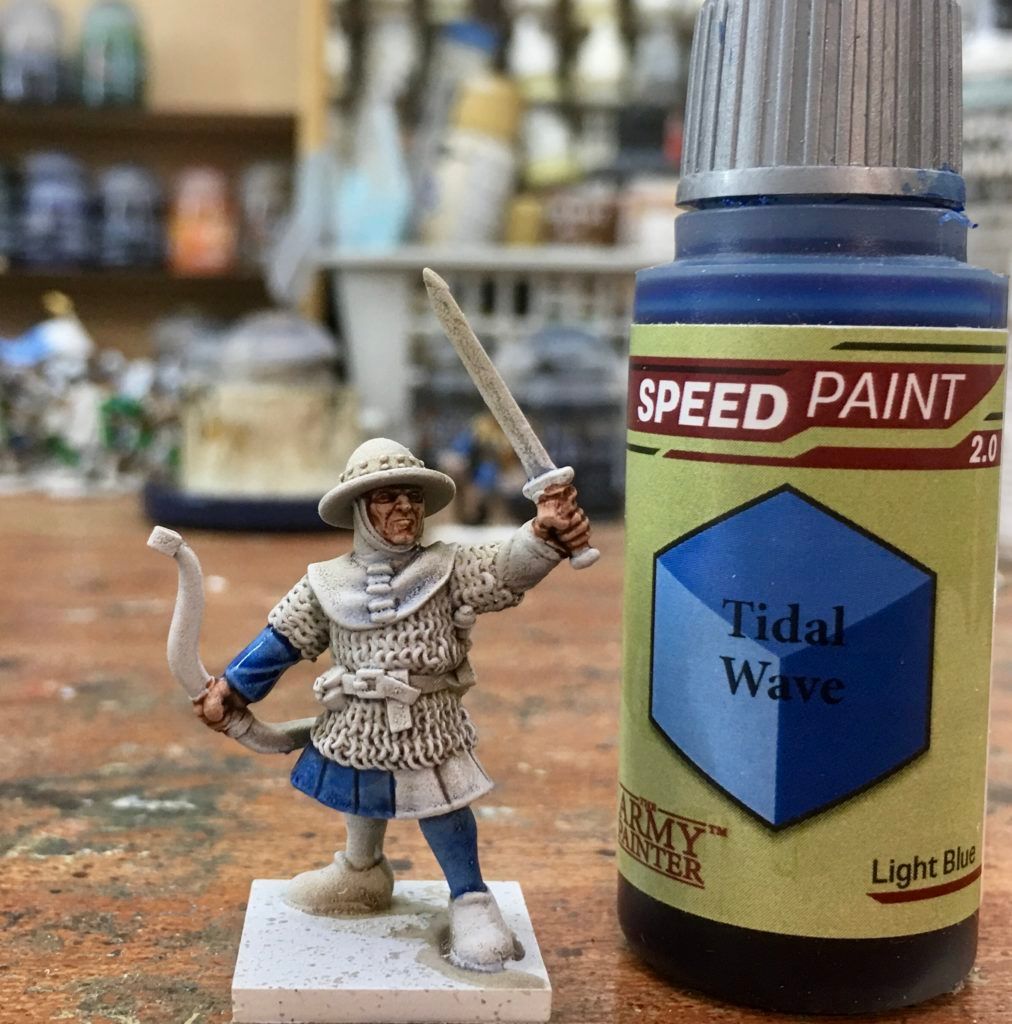
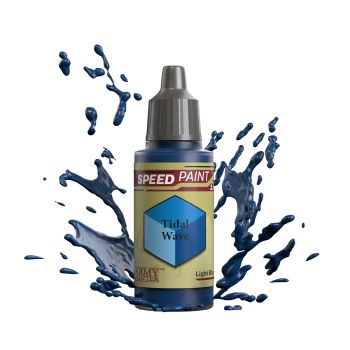
The Archers have a quartered White & Blue Livery, so I have painted left leg, and right side of Jacket with ‘Tidal Wave‘ which is a good light blue tone.
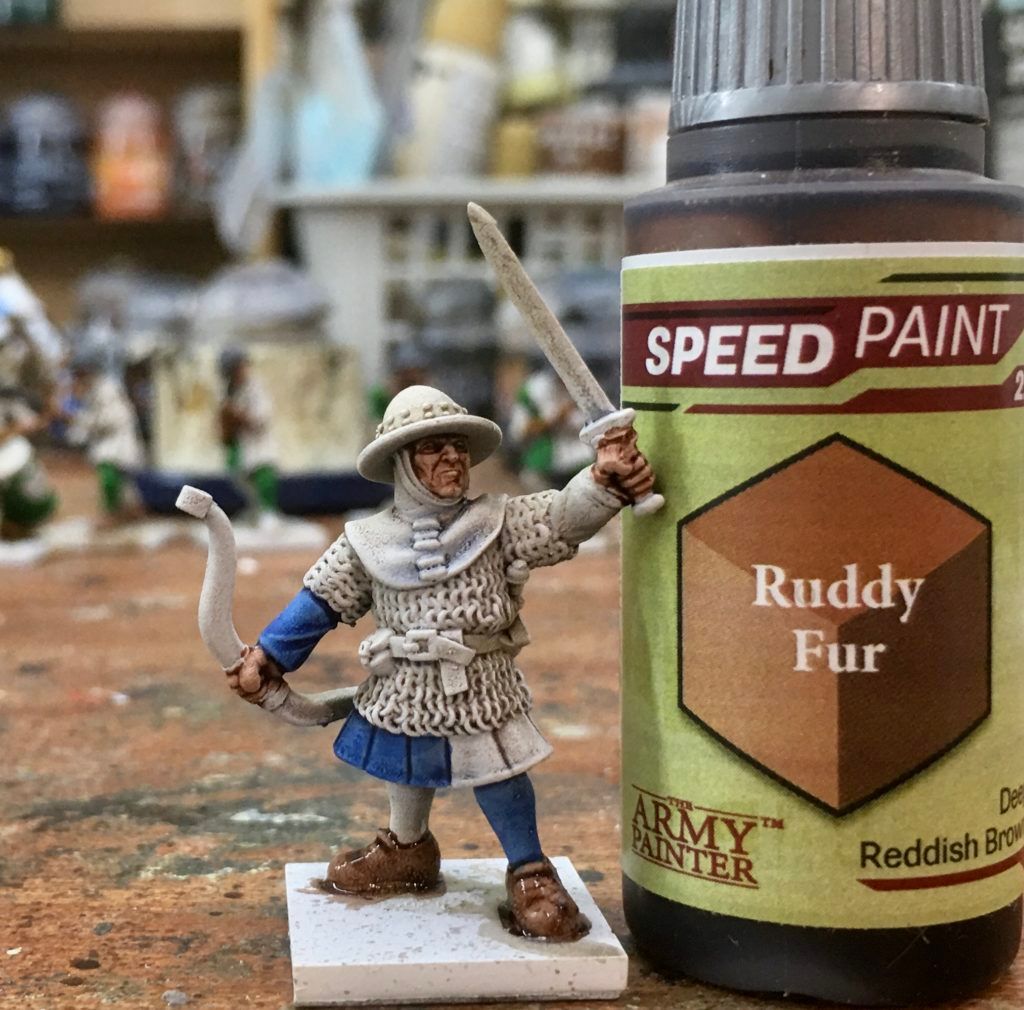
Boots are painted a deep reddish brown using ‘Ruddy Fur‘
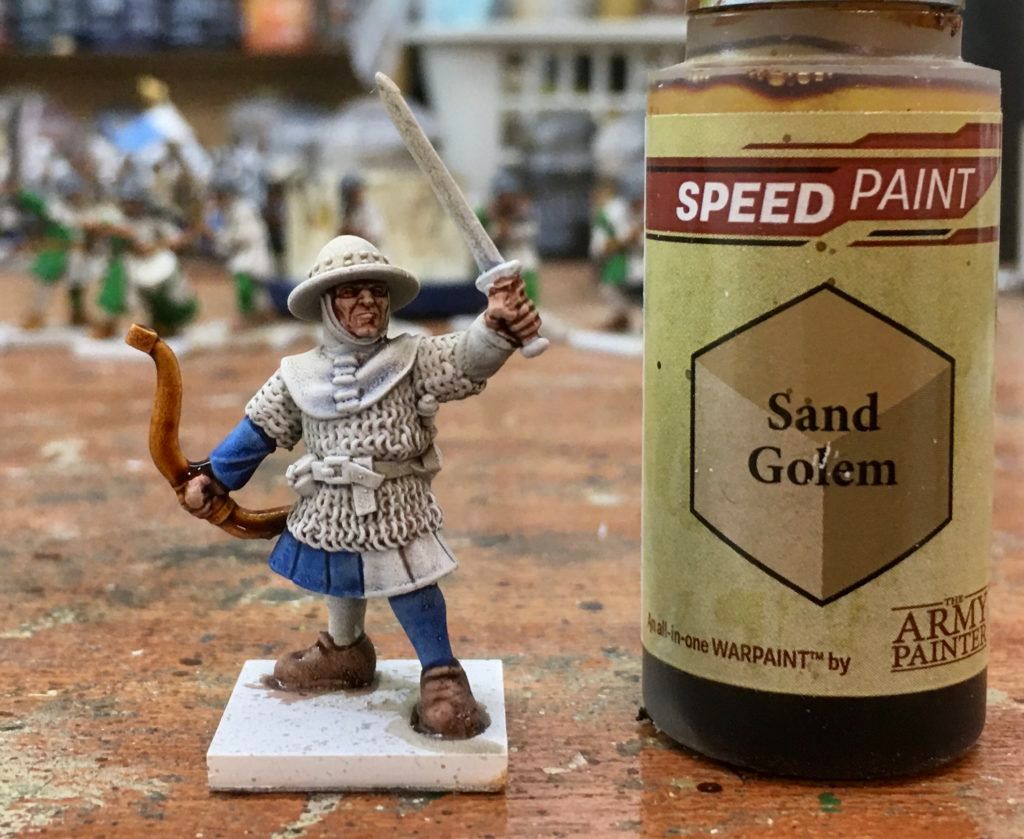
The bow has been painted light brown using ‘Sand Golem‘.
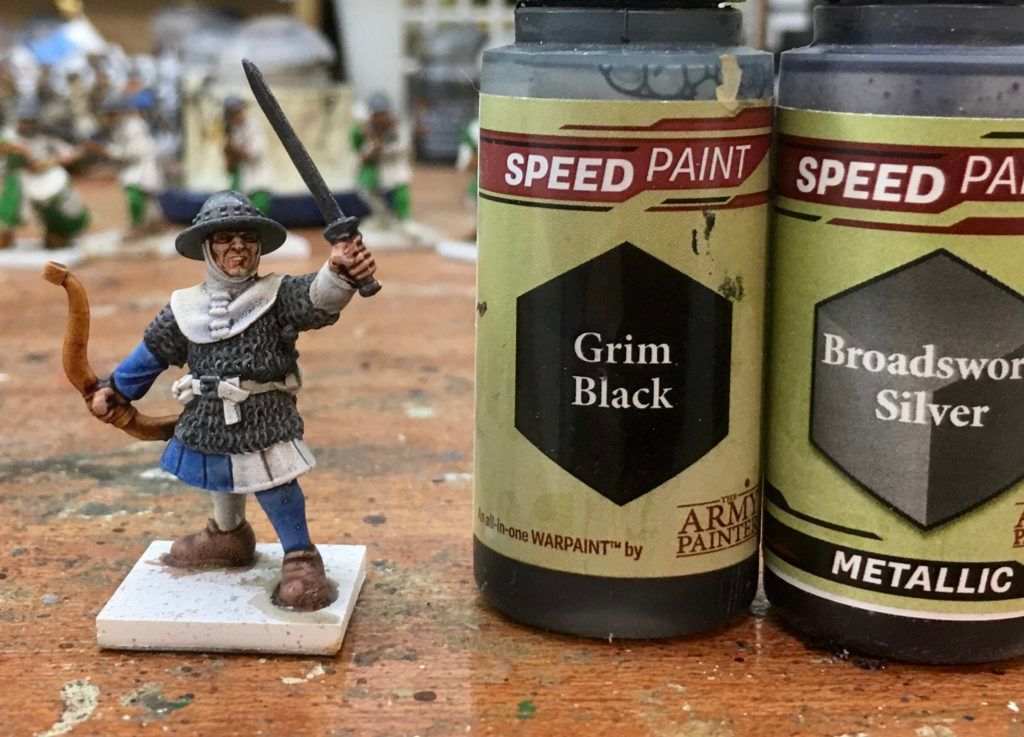
I really like the new Army Painter metal tones. Broadsword Silver is a good bright metal, I have toned this down for painting armor by mixing 50/50 with Grim Black.
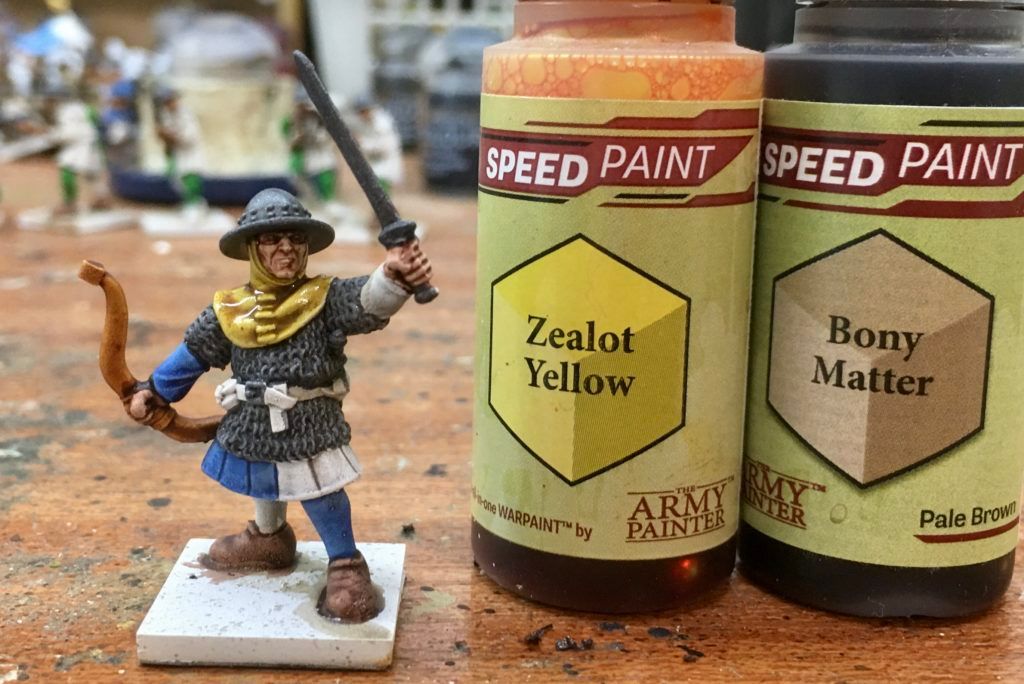
All of the Army Painter Speed Paints mix very well, so if you’ve not quiet got the tone you were looking for don’t be afraid to experiment. I was looking for a yellowy leather colour so put a drop of Zealot Yellow and Bony Matter in my pallet and mixed together.

Finally the belt and scabbard were painted a ark brown using ‘Dark Wood‘.
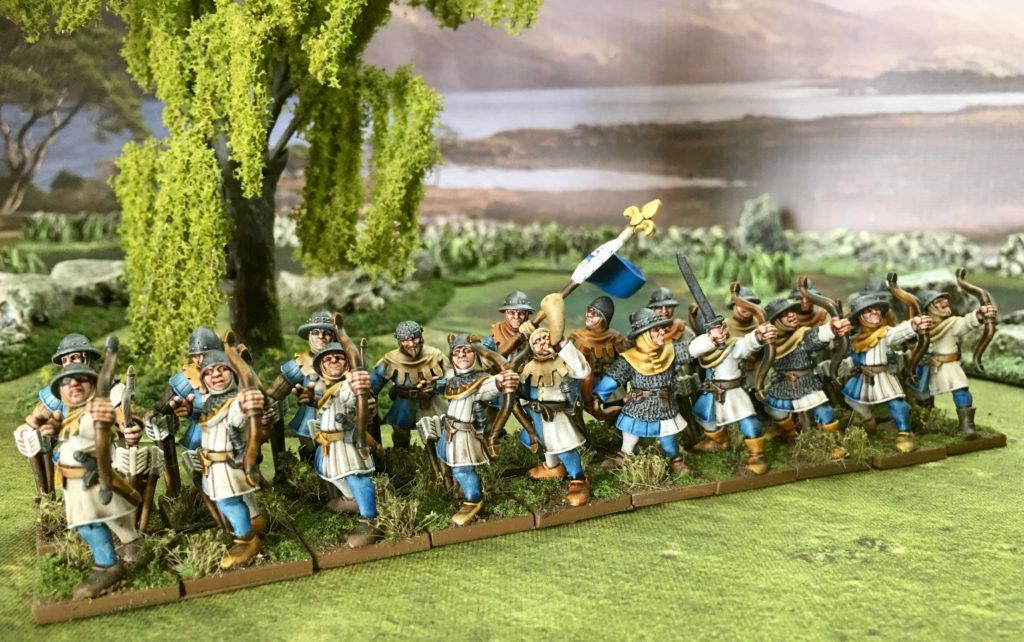
Finished miniature takes his place as Unit Champion in the front rank of the unit of 20 Archers.
The bases were painted brown using Army Painter Warpaint ‘Leather Brown’. PVA adhesive was painted over top of base before dipping in a tub of dry, sterilised soil from the garden. Miniatures are then varnished using Army Painter Matt Varnish. This helps seal the basing soil. Patches of PVA glue are then applied to soil base before dipping in the tub of Woodland Scenics Turf.

Bretonnian Archers hold there own while charged by a unit of Games Workshop plastic skeletons, which have been rebased on 50mm square bases for use in ‘War of Orcs and Dwarves’ by Buck Surdu, my favourite Mass Fantasy Battle game.
0 Comments