
Six to beam down (in 60 minutes time), an evening of painting some star trek miniatures
Ann was out last night, so after dinner I was looking for a quick project that I could get completed in around an hour. I’ve been a big fan of the Army Painter Speed Paint ever since it was launched about a month ago. In my opinion Speed Painter is even better than Games Workshop Contrast Paint (and that was pretty good), and costs half the price and comes in dropper bottles rather than those pots with the awkward lids that I wonder if have been specially designed to be easy to knock over or not quiet seal? …. or am I just getting to cynical in my old age.
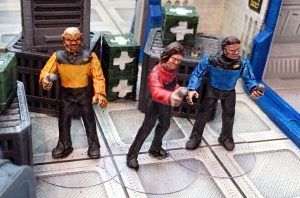
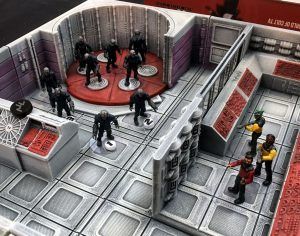
I’m a huge fan of Star Trek and am currently running a Star Trek Adventures campaign so I thought that I would have a go at painting a couple of packs of Landing Party Crew with Hand Held Energy Weapons.
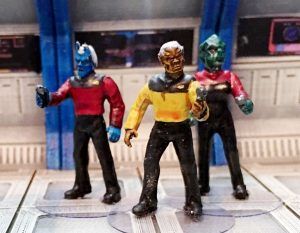
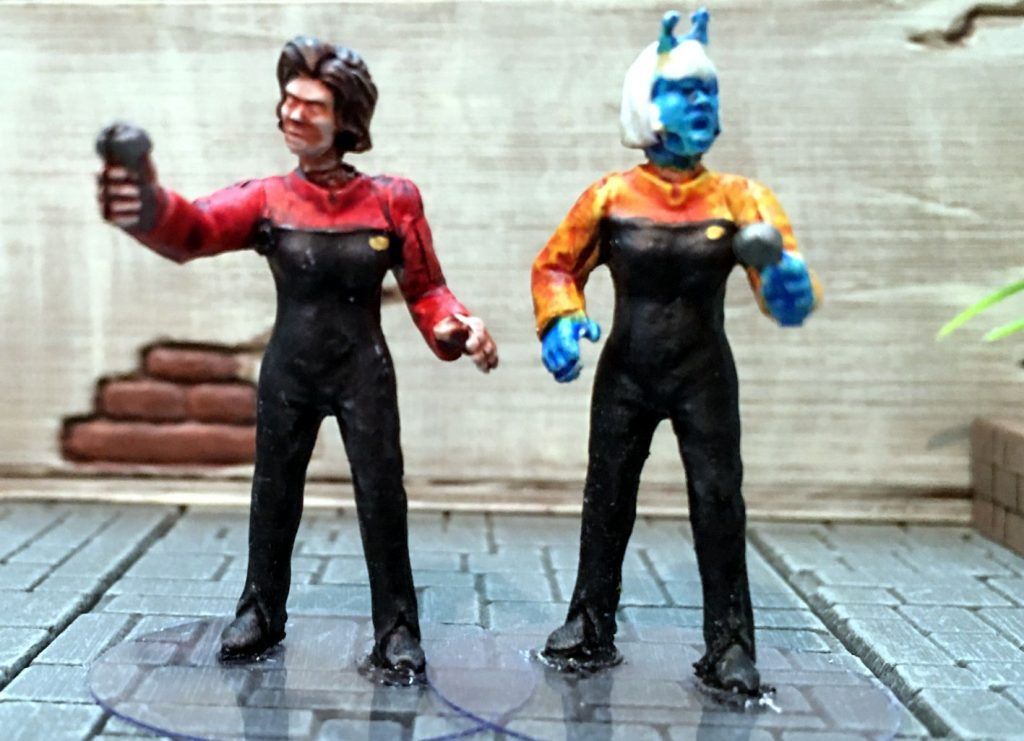
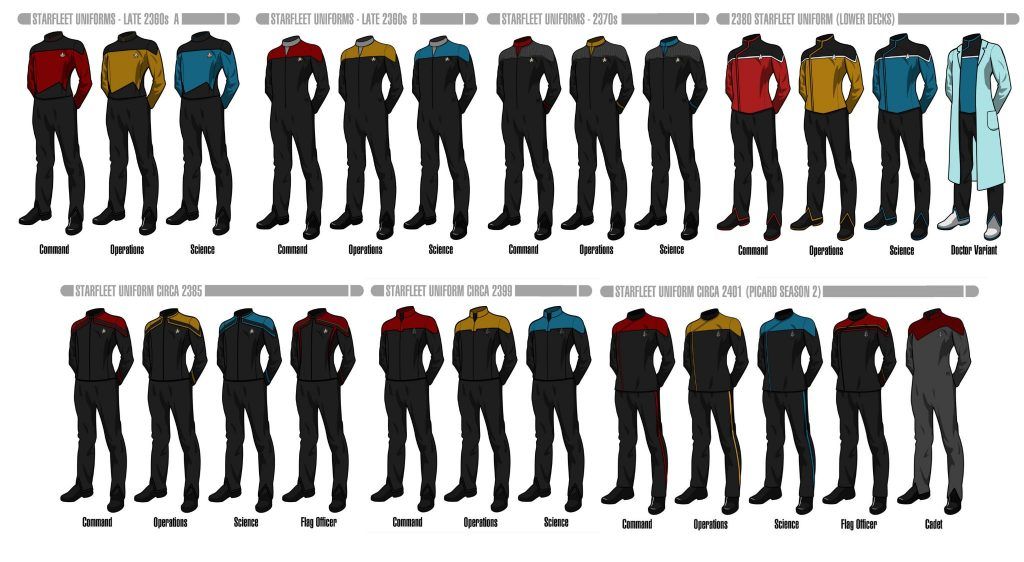
The great thing about Star Trek uniforms is their simplicity and vivid contrast between black and primary colours. I know that these STar Trek Miniatures are not the correct Next Generation uniforms, I’ve chosen to paint my ‘Fleet’ slightly differently, but recognisable as inspired by STNG.
The Miniatures
The miniatures come with separate heads, three variations of body (one female and two male) and separate arms. There are five different energy weapon arms, four different empty-handed arms and countless head variety so there is no need to have two crew that look the same. I glued the miniatures together with superglue and snipped the slotta tab off as I prefer to mount my miniatures on clear bases so that they merge with whatever they are standing on. More about that later!
The miniatures were then superglued on to MDF temporary painting bases and given a quick undercoat with Army Painter White Spray undercoat.
I decided to paint the black parts of the uniform first as this is the largest part. Black is often difficult to shade and highlight so I was a bit apprehensive, when first painted on the Grim Black Speed Paint looked a bit wishy-washy, but I am pleased with how it has dried. I painted the black on all six figures and then left them while I had my dinner. Speed Paint is more like a stain than a normal paint and it is important that the adjacent colour is completely dry before painting up to it otherwise the colours will mix at the join!
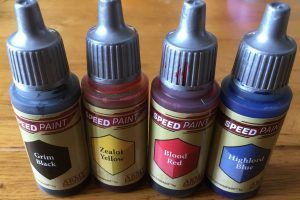
I used the following paints for the coloured ‘divisional identifier’ part of uniform.
- Command Division: Blood Red
- Operations Division: Zealot Yellow
- Science Division: Highlord Blue
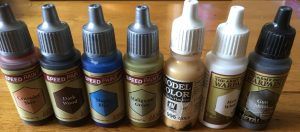
These are the other colours that I used.
- Andorian Skin: Magic Blue
- Reptilian Skin: Malignant Green
- Human Skin: Crusader Skin
- Hair: Dark Wood
- Phasers: Gun Metal (normal acrylic)
- Comms Badge: Gold (normal acrylic)
I also used some Army Painter Matt White to touch up any areas of black that were in wrong place before painting over the top as Speed Paint is semi-translucent it really needs a white or light-coloured base underneath.
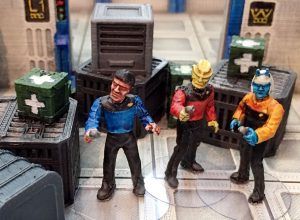
These miniatures are not going to win any painting competition, but at 60 minutes elapsed time for six miniatures, I am more than happy to use them on the tabletop for characters in Star Trek Adventures, Stargrave and Star Patrol. After giving a quick spray with Army Painter Matt Varnish to protect the paint, I removed the miniatures from there temporary painting bases and glued them on to some thin clear bases that I had made.
I make the bases from Ultra-Pro Top Loader Cards. I have tried lots of different materials, but I have found this best. You need to use a good pair of scissors to cut the seal off, so you have two separate pieces of plastic. Good job Ann is out and does not read my blog… are those the best kitchen scissors?
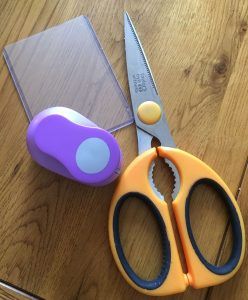
This is a cheap 25mm diameter punch that I brought on eBay. It works best with the bottom removed so you can see where you are punching. You can get 12 25mm bases from one top loader card.
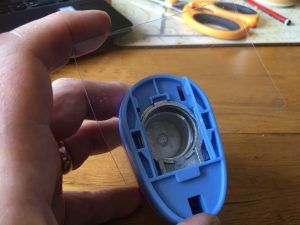
A drop of Superglue underneath each foot, place on a piece of paper to remove excess and hold for a few seconds to dry. I really like the look, as I often use miniatures on the official Star Trek Adventures tiles & floor plans, and it is a shame when the lovely artwork is obscured by clunky bases. I used to use 2mm thick clear bases, these thin ones are even better as they do not have a reflective side edge and they are thin enough to overlap if needed.
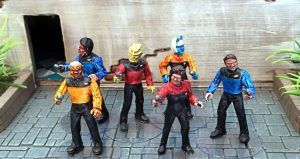
Miniatures painted were from Landing Party Range. The Sci-Fi corridors used as a backdrop were 3D printed on my Ender 5 from models from LV-427 range.
0 Comments