
For the last five or six months a significant amount of my hobby time has been spent painting model buildings inspired by the architecture of Venice, the floating city. It all started around a year ago. I was talking with my good friend, Iain Lovecraft about how I would love to be able to put on some game set in Venice but how for years I had been searching and asking in 3D print forums to try to find some models inspired by Venetian architecture but there was nothing around. Iain agreed it was a great subject, but felt that it was a little niche, so I had to set out to demonstrate that there are a whole stack of games that could be played amongst the canals, bridges and spires. I came up with a list that included Pulp Alley, 7TV, In Her Majesty’s Name, Thud & Blunder, Feudal Patrol and 02 Hundred Hours (in 1943 Venice was occupied by the Germans and there was an active Resistance network).
Iain agreed to design some models and he has done a fantastic job designing buildings, bridges, scatter, gondolas, miniatures and just about anything else you would want on a Venetian inspired gaming table.
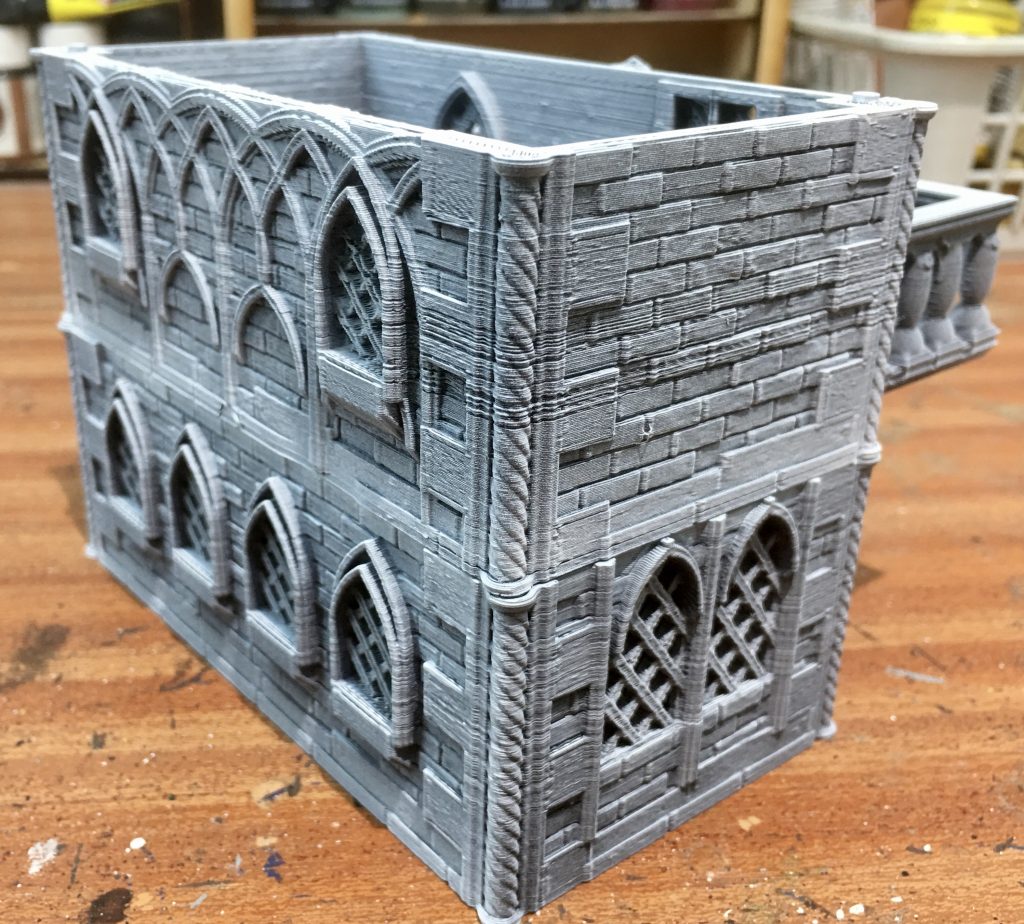
After 3D printing on my Ender 5 using eSun PLA+ at 0.2mm layer height, the models were primed and undercoated. I always prime with Halfords Matt Black Auto Spray. I buy 12 cans at a time from Amazon and they work out at just under £3 per can. Once dried, the model is lightly sprayed with White Primer.
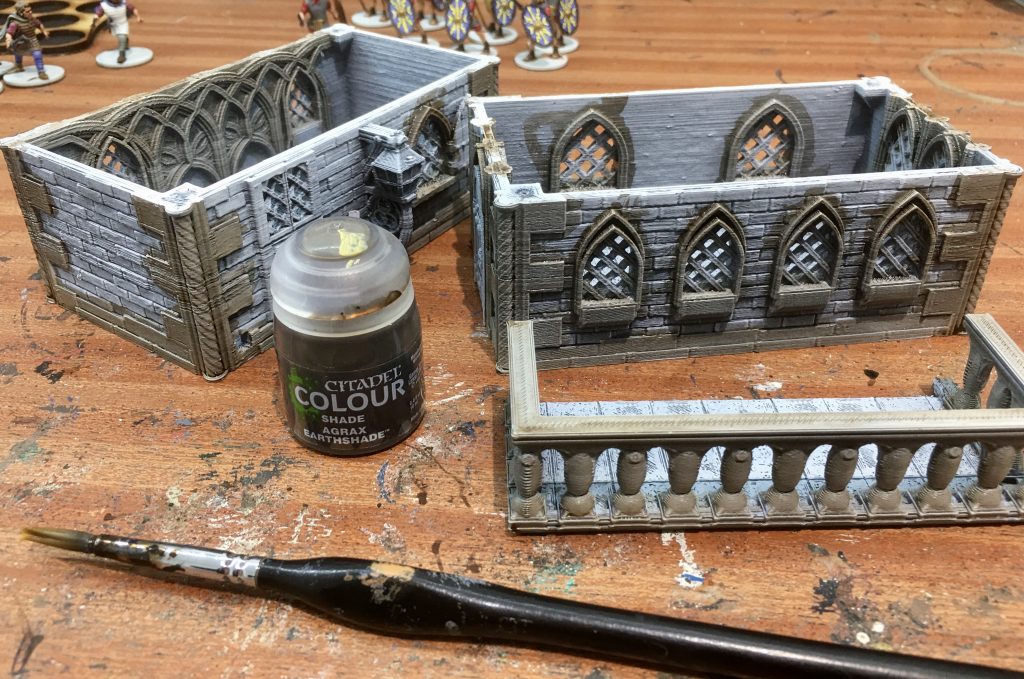
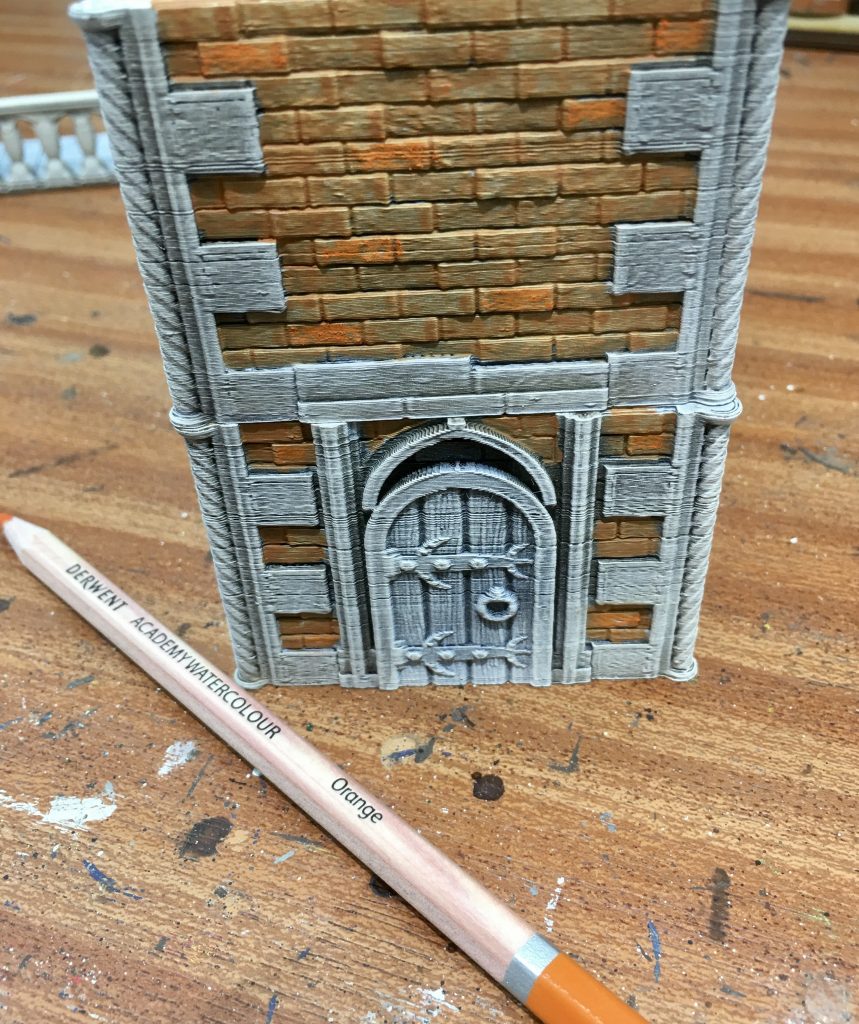
I start by painting the stone work. A light wash of Games Workshop Agrax Earthshade is painted over all of the Stonework. I use a No 5 brush for this.
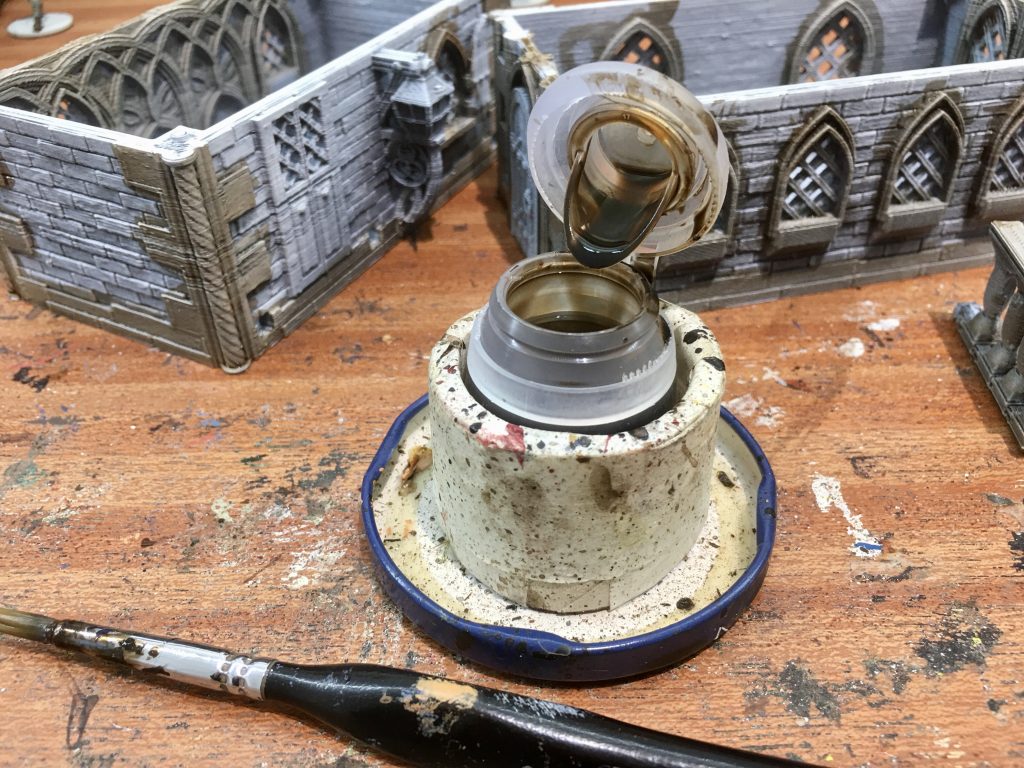
I don’t like Games Workshop pot design. It feels like they’ve been specially designed to be easy to knock over so you need to go to your local hobby store to replace it. I therefore made a simple and highly effective pot stand to prevent this from happening. I never put a brush into a pot of Games Workshop paint without placing the pot in this holder which I made from an old jar lid and a couple of pieces of toilet roll tube, cut to right size and bulked out with masking tape before being superglued together. It sounds very ‘Blue Peter’, but it is very effective.
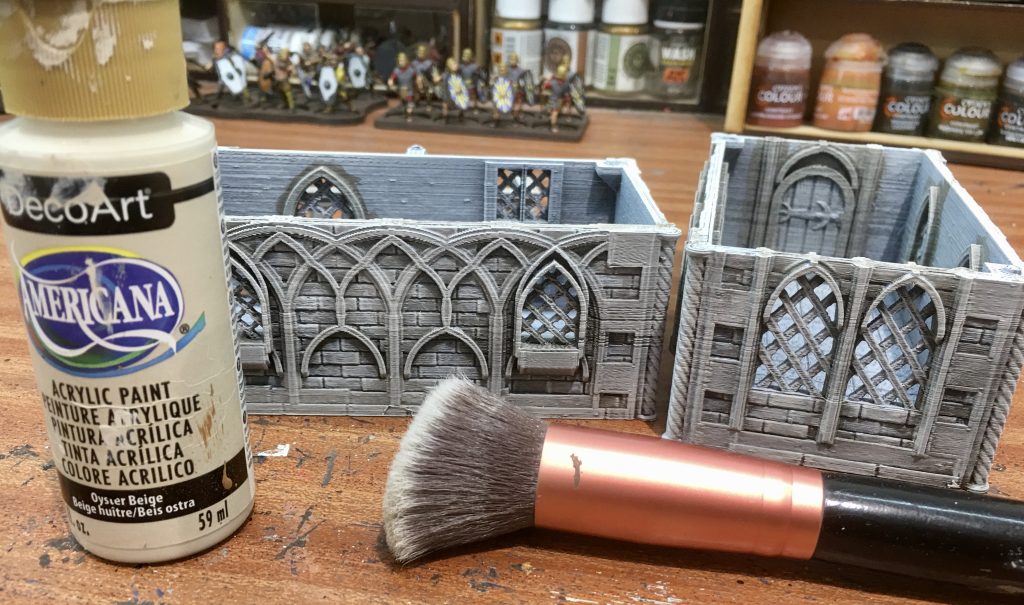
Once the Agrax wash is thoroughly dry, all of the stone areas need a good dry-brushing of off-white paint. I use Oyster Beige from DecoArt. It comes in a 2oz bottle and there range is brilliant for painting terrain and buildings. I do all my dry-brushing using Make Up Brushes. These are far better than any specialist hobby products and are a fraction of the price. It’s best not to borrow ones that are used for applying make up, the owner rarely understands your need. Best to pick up a set of your own from Amazon.
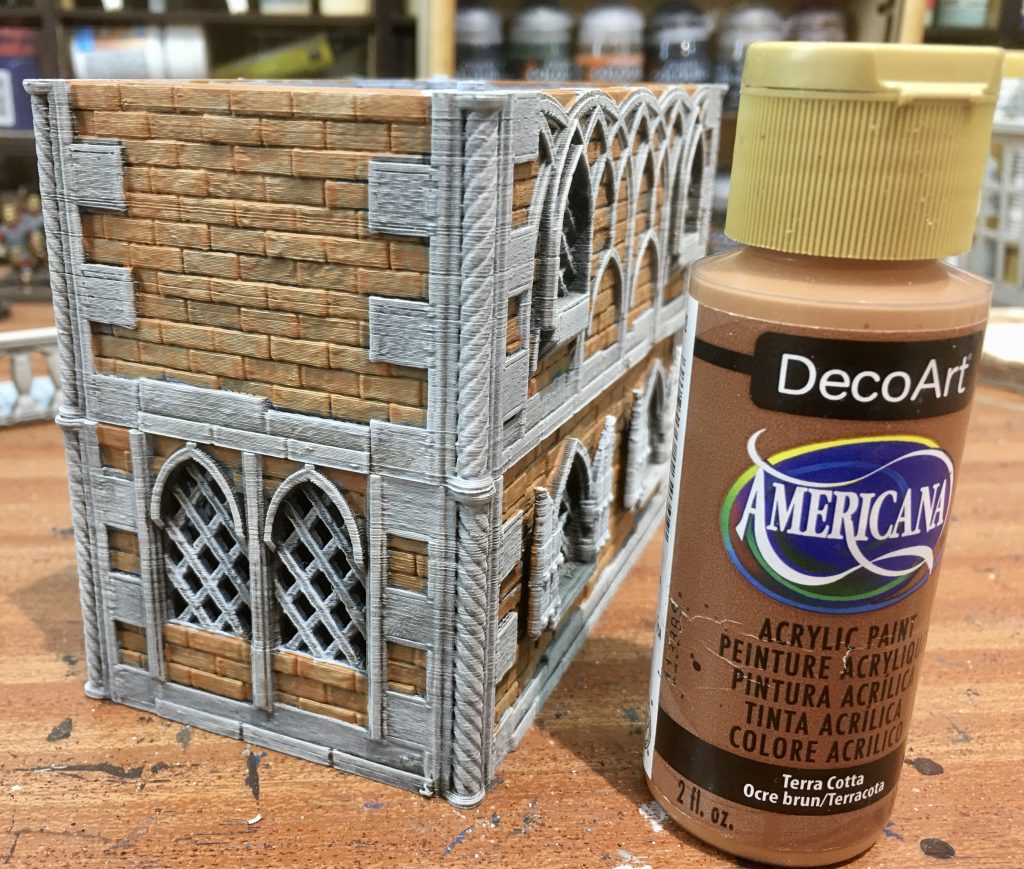
The brick areas are then painted Terra Cotta. I paint a lot of buildings so use a big bottle of Acrylic Folk Paint from DecoArt.
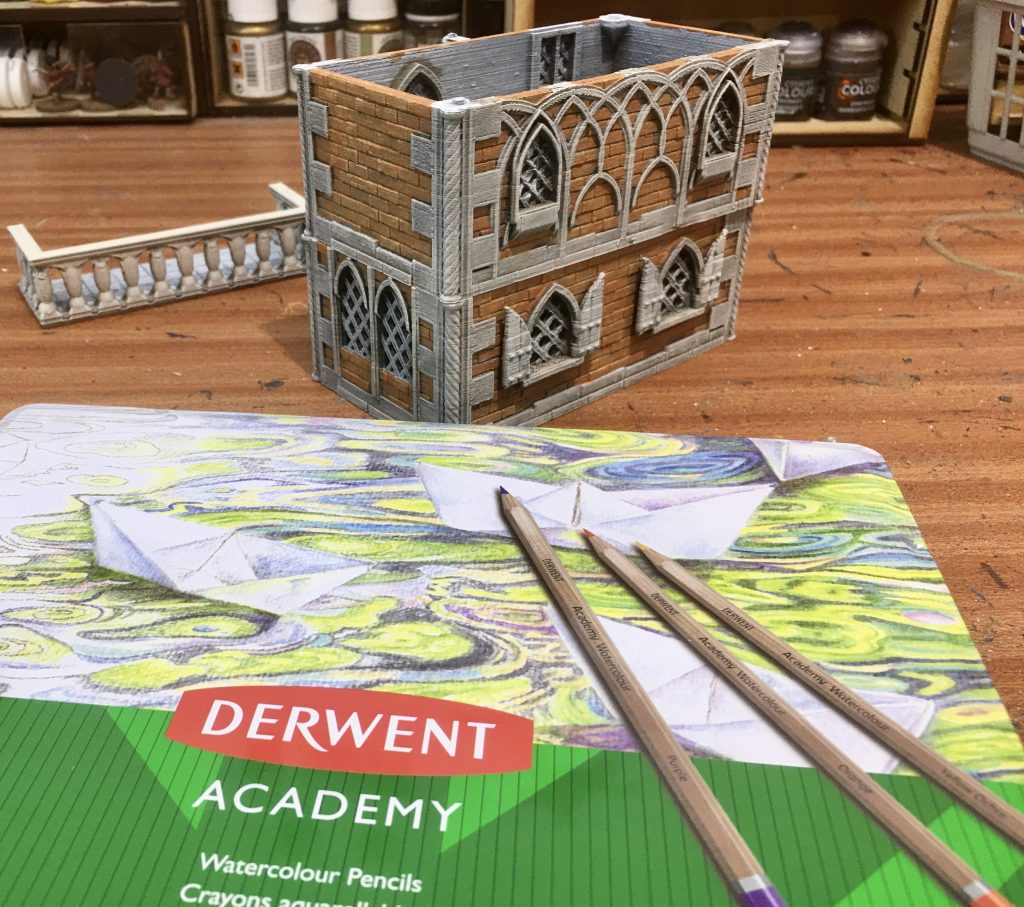
The next bit is a little unorthodox, but it works, is easy and I like the finished results. Before starting this project I had a good look at lots of photographs of brickwork and noticed that the bricks were rarely all the same colour. I decided it would be to fiddly painting individual bricks so brought a cheap box of watercolour pencils from Amazon to see if they worked well on buildings and terrain.
The colour variation on the bricks is achieved by picking out some of the bricks at random and lightly colouring in with a watercolour pencil.
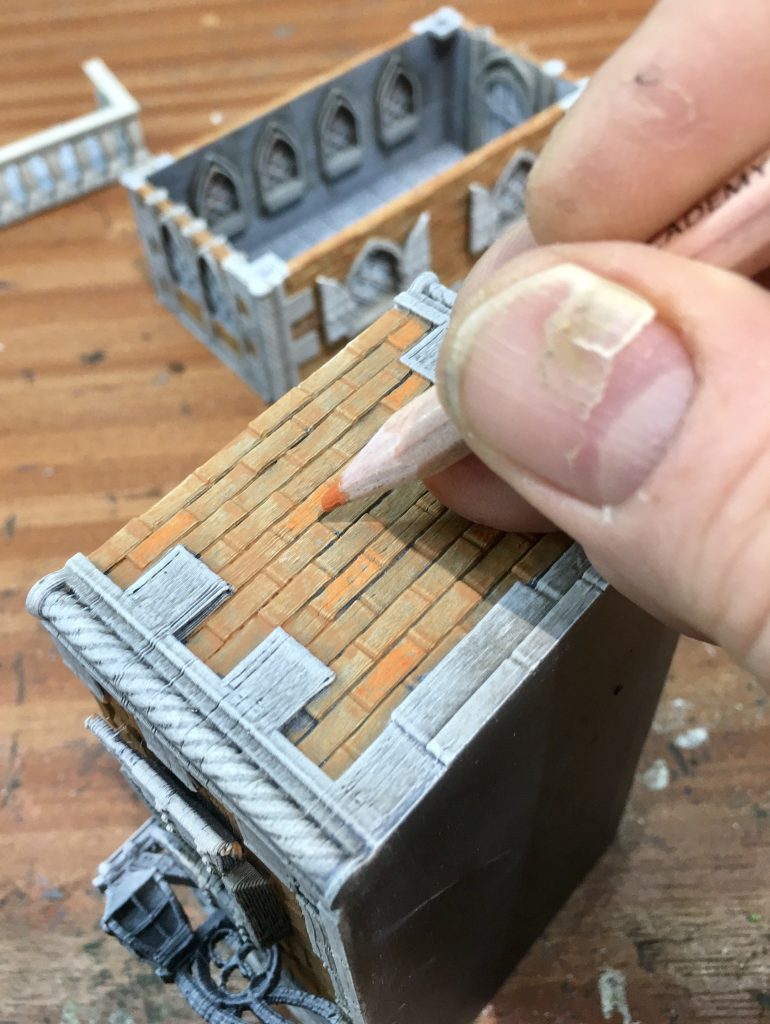
First colour applied is Orange.
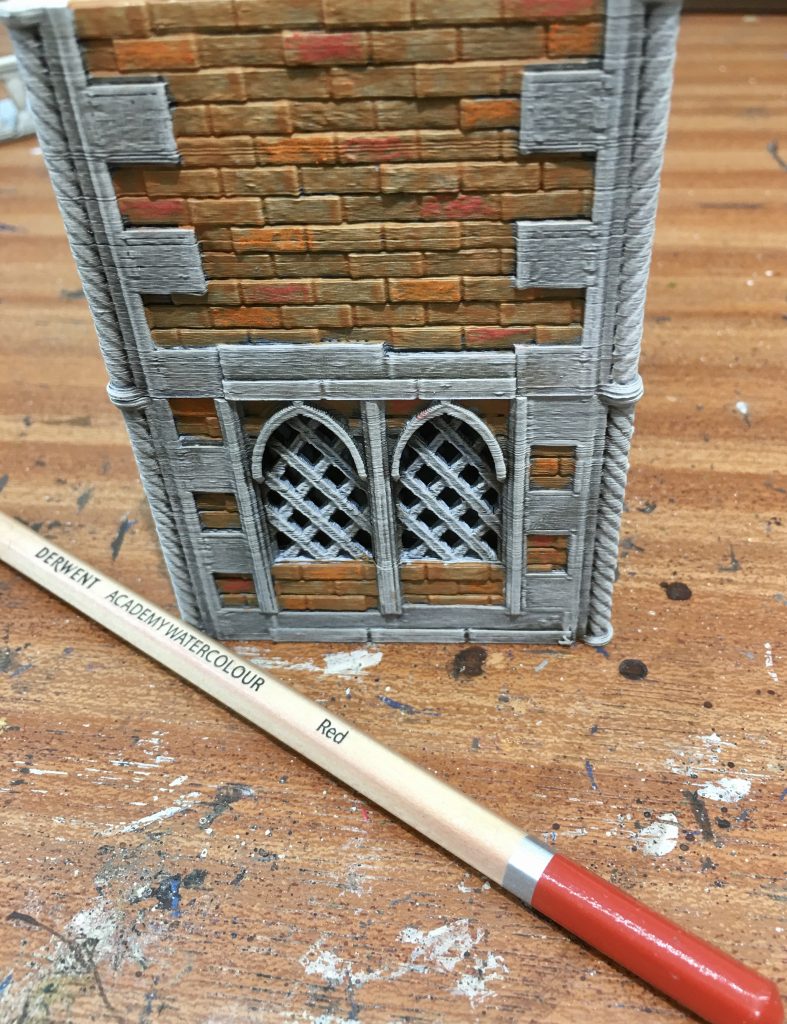
Followed by Red…
Finally I add a little black to some bricks, including some of the red and orange bricks to indicate bricks that are a little burnt.
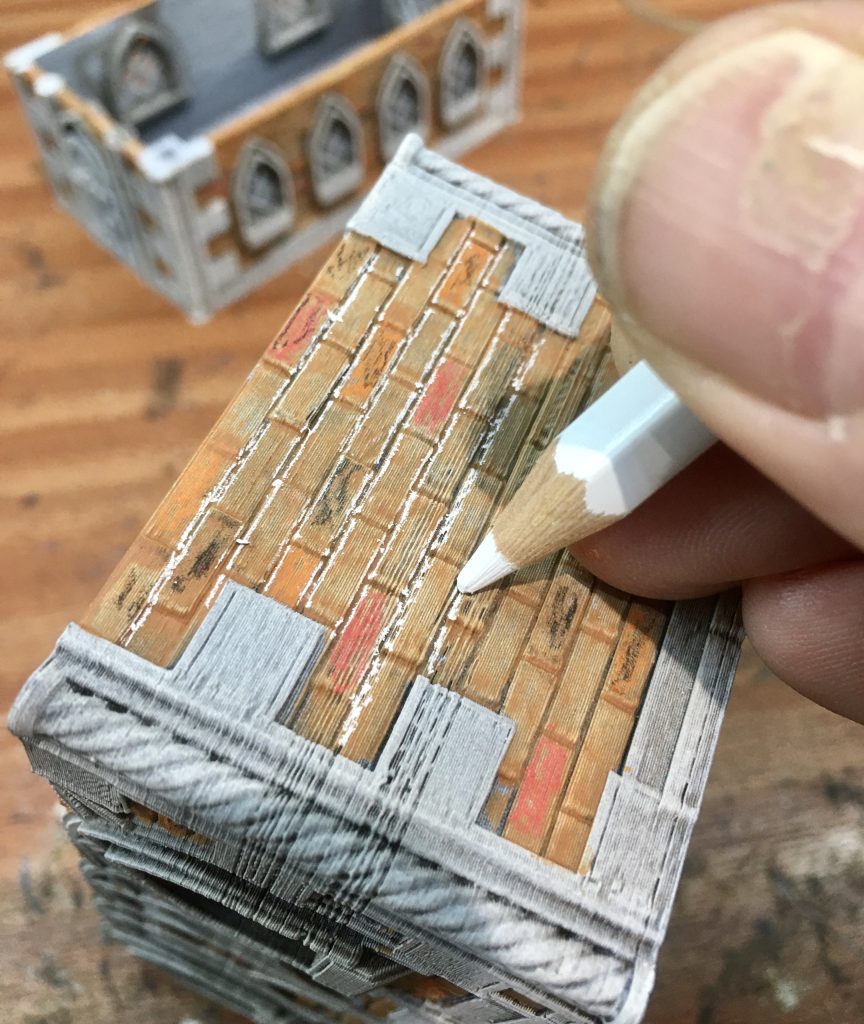
The watercolour approach really comes into it’s own when we start to represent mortar and salting. The default approach to raised brick and stone detail is to apply a dark wash over it to add shadow to the recesses, however when you look at the real thing the mortar between bricks is usually white or off-white.
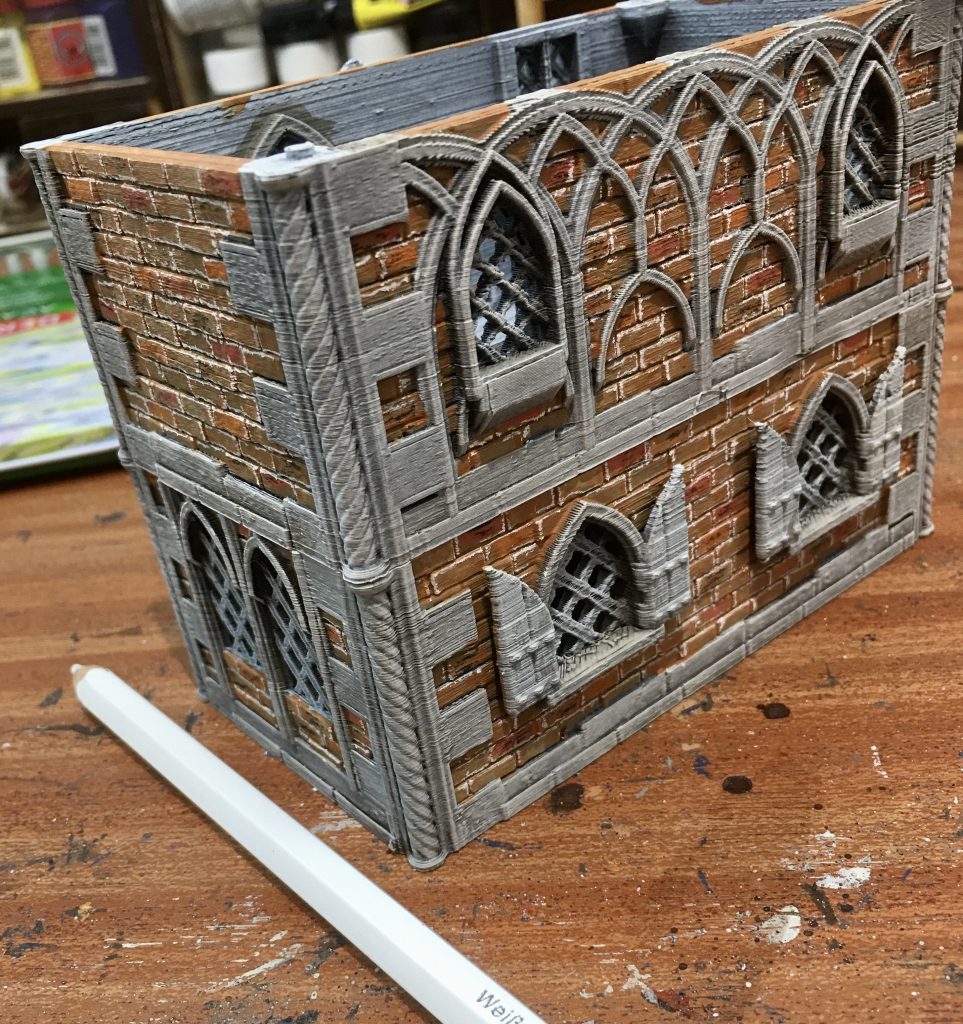
I used a white watercolour pencil, with a sharp tip to draw along the brick detail to represent mortar. The pencil tip blunts quickly so you do need to keep sharpening it.
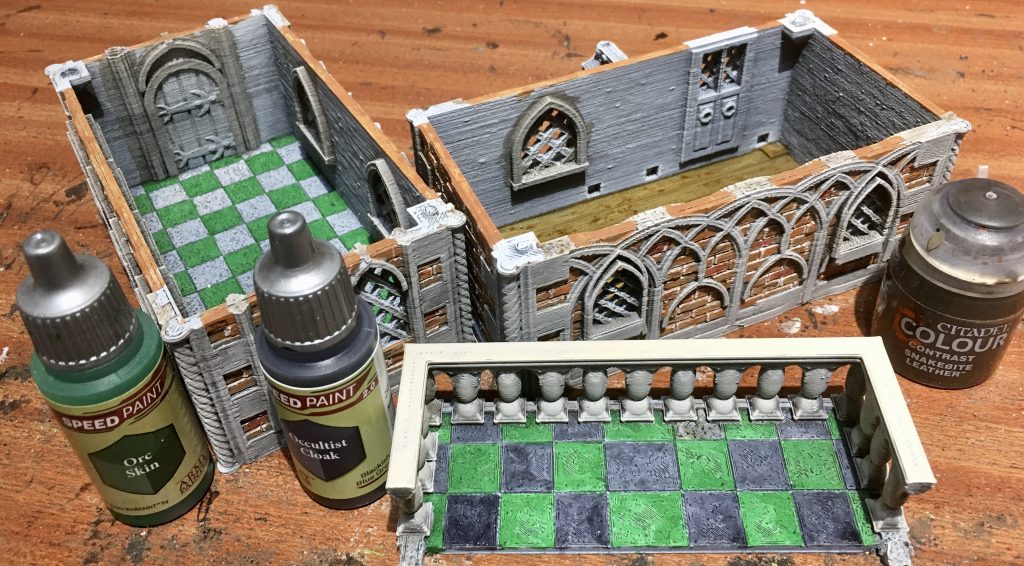
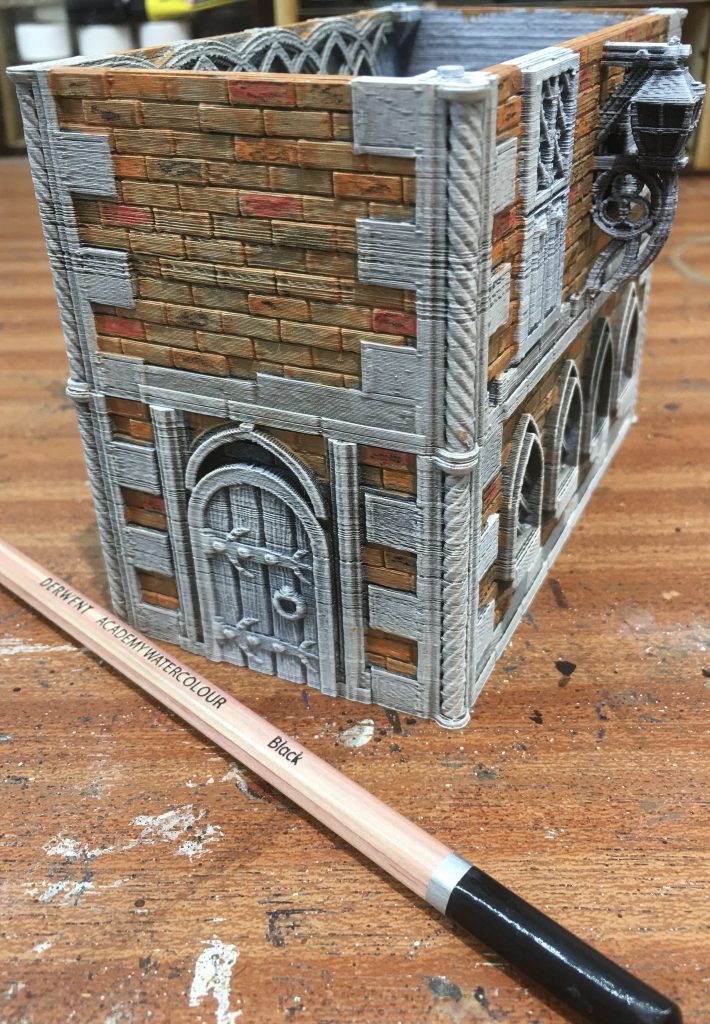
I painted the rest of the detail using Army Painter Speed Paints and Games Workshop Contrast paint because they are highly pigmented and flow really well. Floor tiles were painted Orc Skin & Occultist Cloak and the wooden flooring was painted using Snakebite Leather.
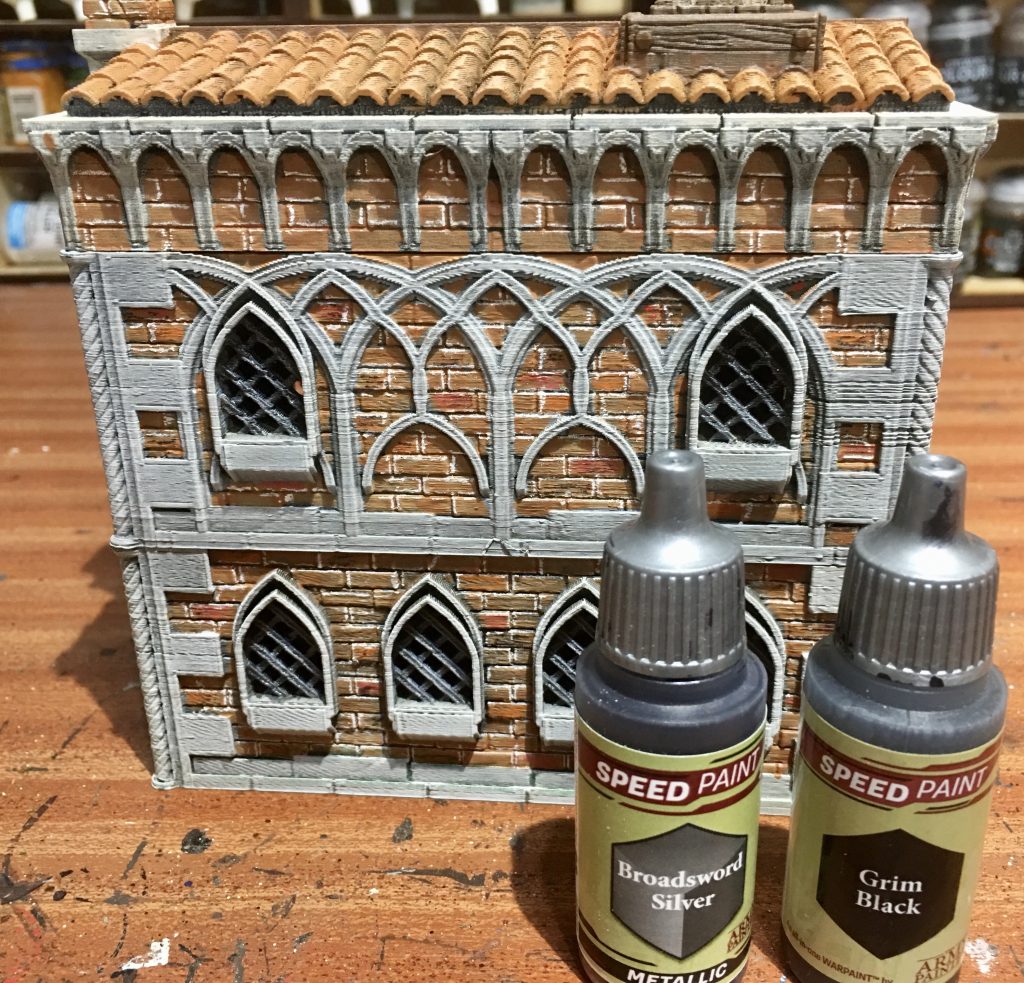
The leaded windows were painted a ‘Gunmetal’ colour that I mixed with 50/50 Grim Black & Broadsword Silver.
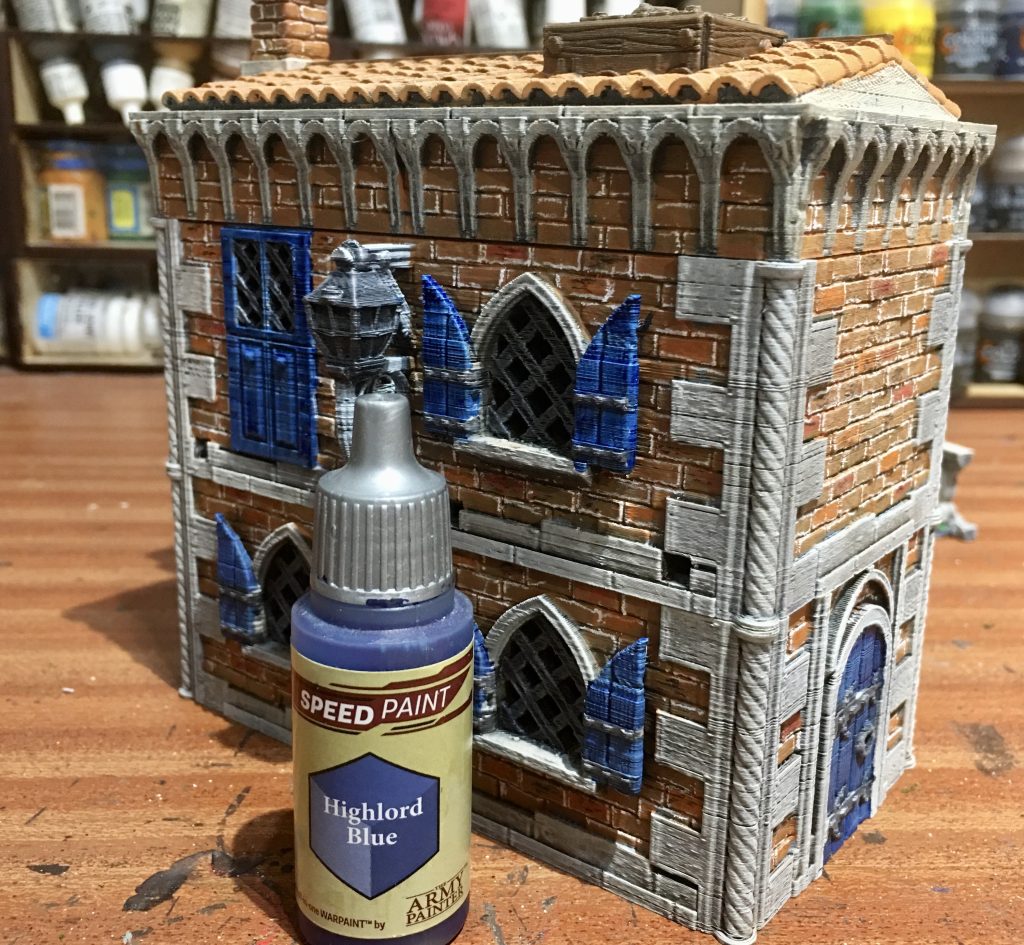
Wooden doors and shutters were painted using Highlord Blue. I’m representing painted wood, so any cheery colour will do. I try to use a different colour on each house for variety.
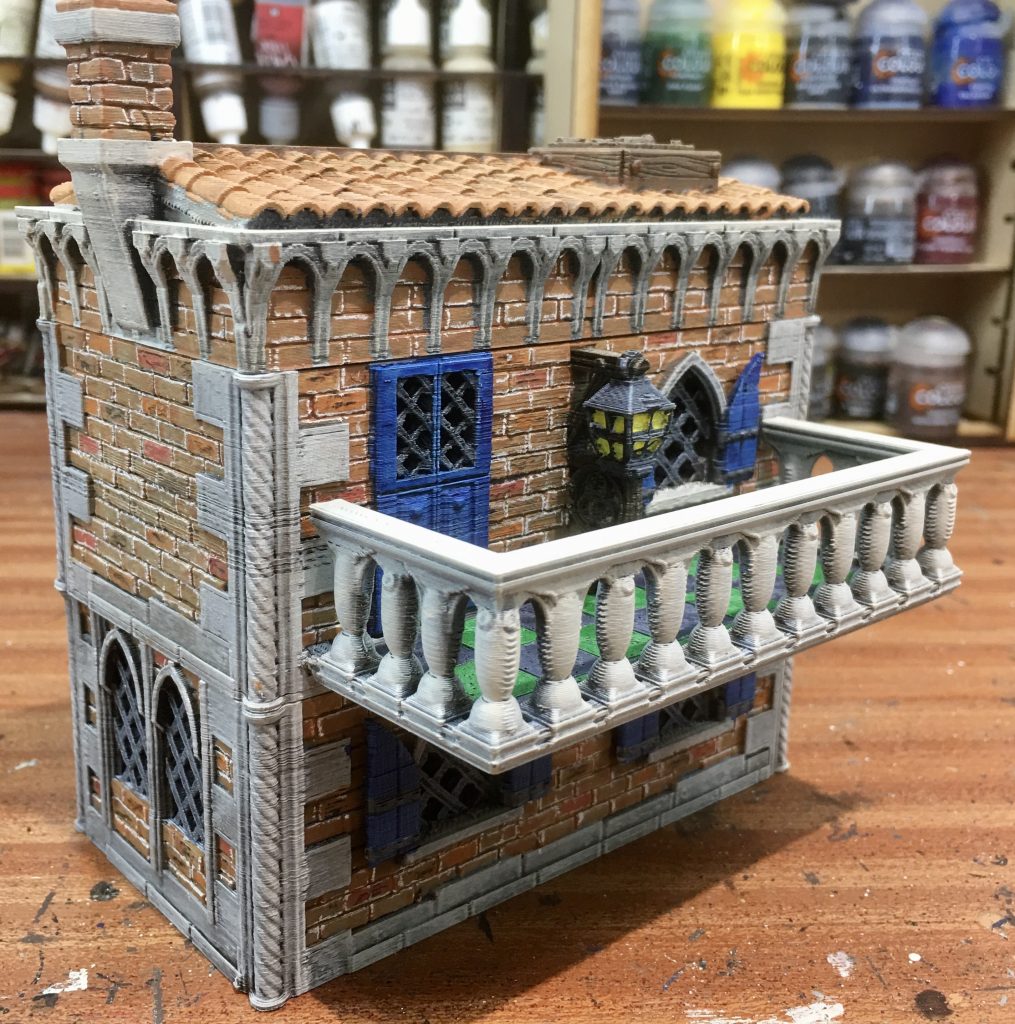
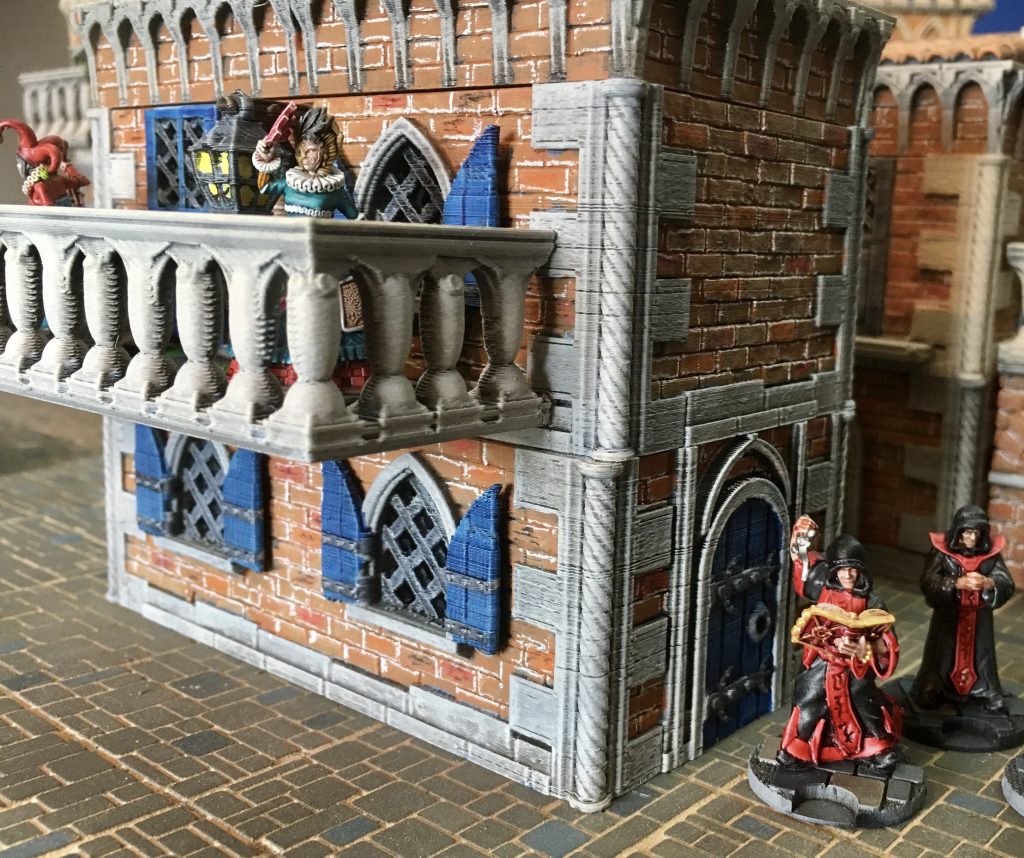
Here is the finished building. I’ve added a dab of yellow to the lamp and very importantly given the building a good spray with Matt Varnish to seal the watercolour paints.
The roof tiles were painted using Dulux Household Emulsion Sumatran Melody 2 drybrushed over with Sumatran Melody 3. I brough a couple of tester pots 10 years ago, and they are still going strong.
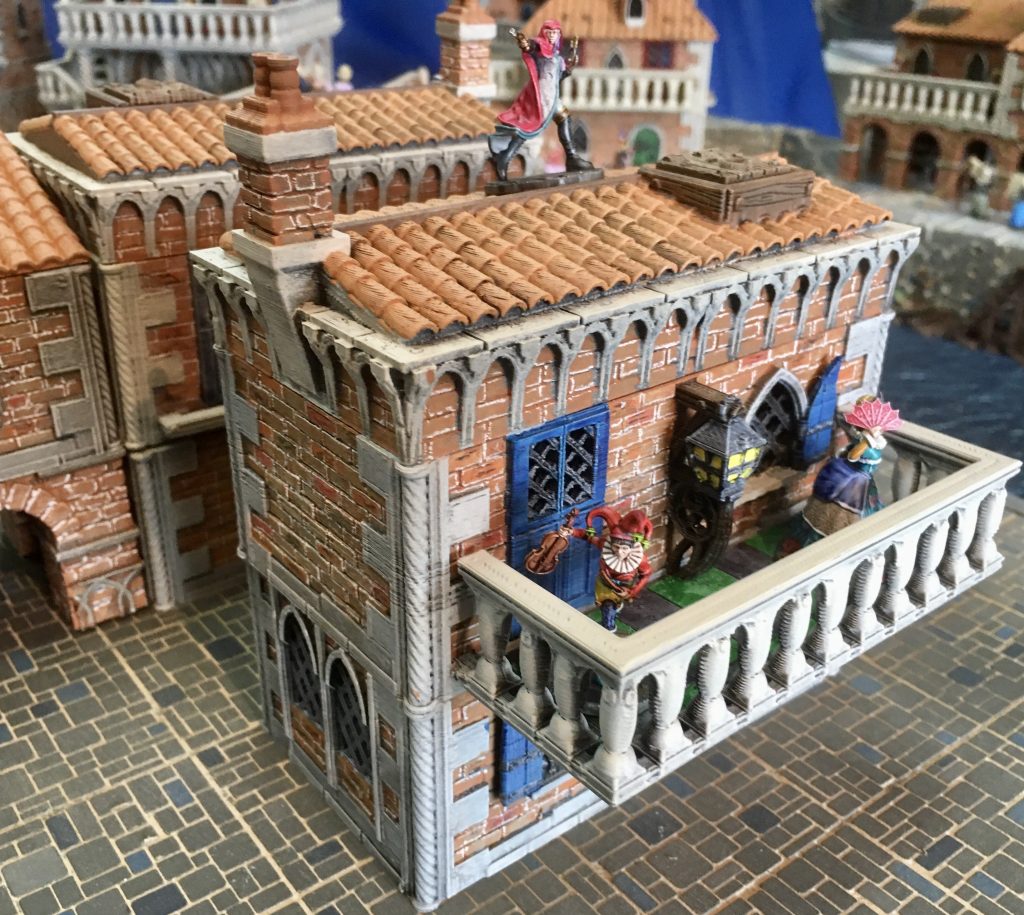
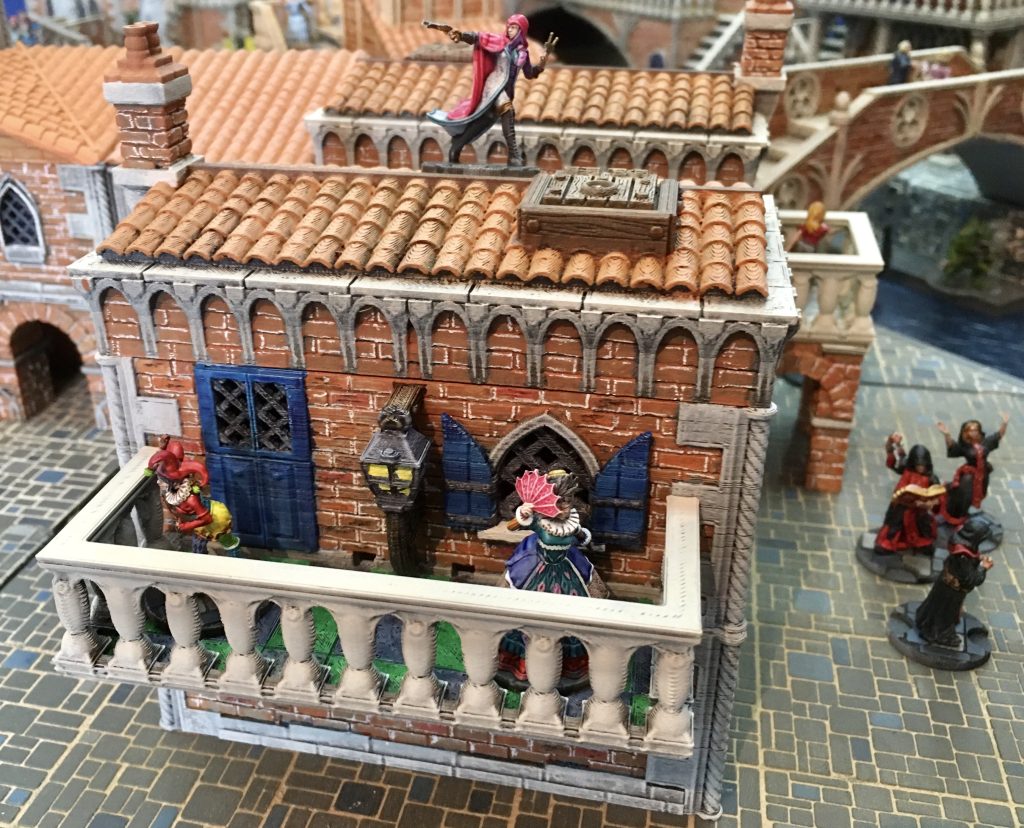
The roof has been designed at a helpful shallow angle, perfect for figure placement. The balcony has been designed to be an ideal size for figures mounted on 30mm bases.
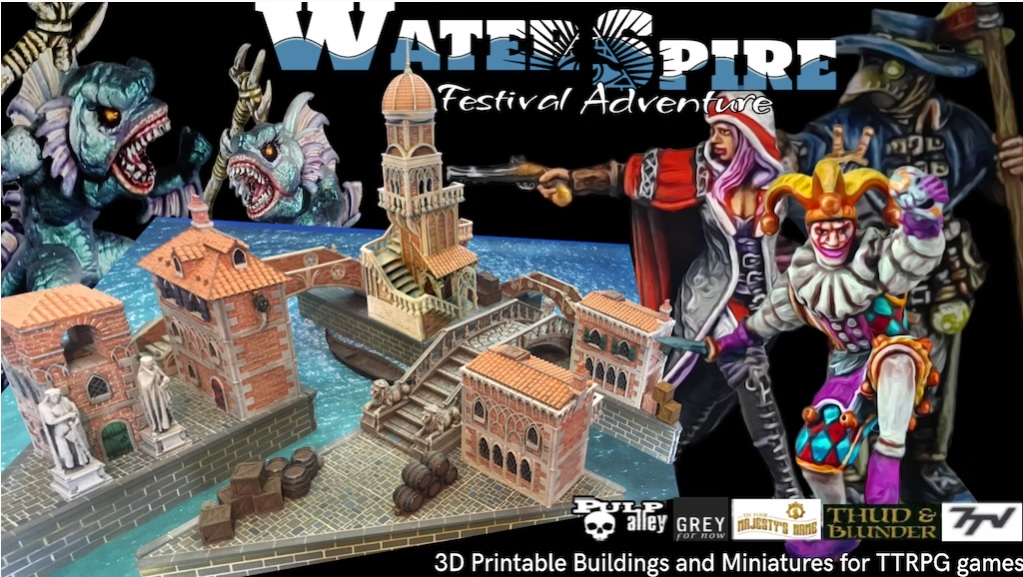
The building that I have painted (and the other miniatures and terrain shown) are part of WaterSpire Kickstarter, running until 19th May.
0 Comments